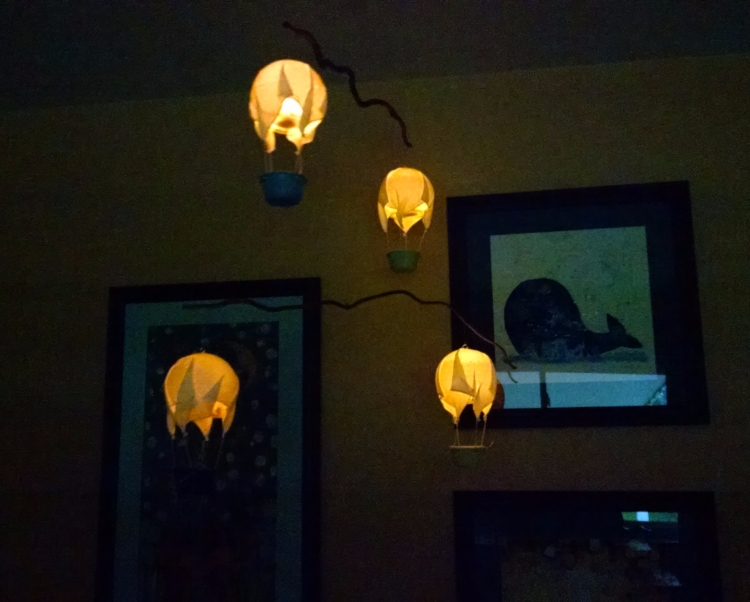
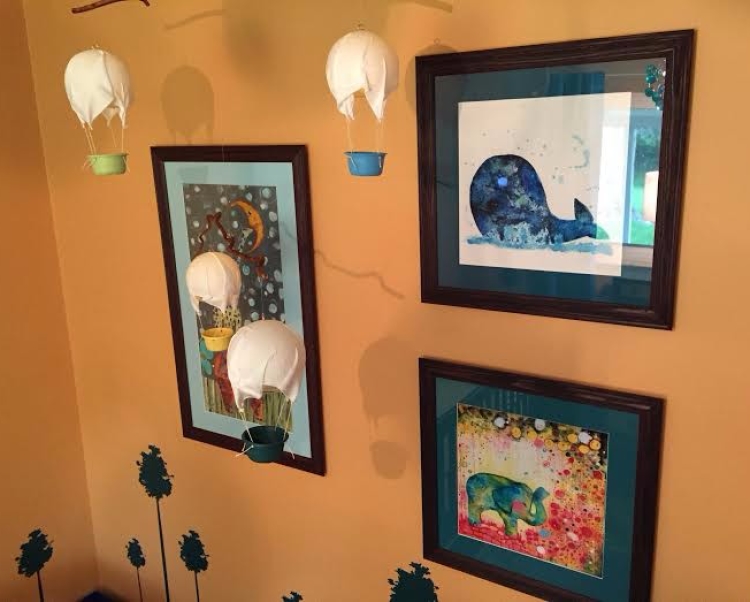
I love the mobile I made for my son’s room: Dreamland Odyssey Boy’s Nursery. I wanted to use handkerchiefs in the room somehow (Reminds me of my Papa). I have also been excited by how candles can now be used in kid’s rooms and nurseries now that we have electronic ones. I thought of making a mobile of hot air balloons using handkerchiefs and electronic candles. This idea was particularly special because one set of grandparents live in Albuquerque and we go down for the balloon fiesta every year. My favorite part is the glow. This is where you go at night and watch all the balloons light up with fire. I wanted to recreate that magic in my little one’s room.
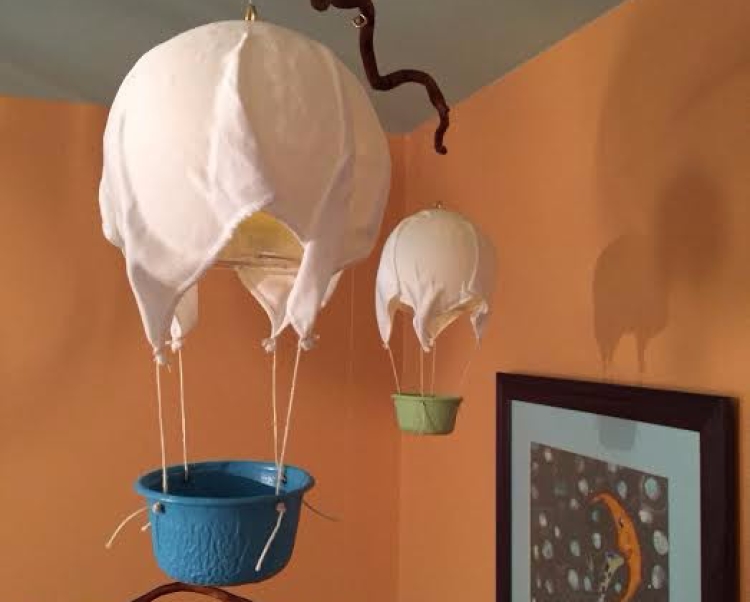
It was difficult to figure out how to make this work. I decided to try to use bouncy balls to put the candles in and then cover those with the handkerchiefs. I had no idea if the remote for the candles would work through the balls, and it was extremely difficult to find balls and handkerchiefs that were the right size so that the handkerchief would cover the right amount of the ball. I found little disposable ramekins for the baskets. I was going to use a mobile kit, but I couldn’t find one. I ended up making my own out of willow branches. I like how this looks better anyway.
After working all this out, it was for sure an adventure making the mobile. It took my mom and I all day. We used a lot of creative problem solving. The best tool turned out to be a stencil burner. Here are the materials and basic steps we followed:
Materials:
- 4 Handkerchiefs
- 4 Bouncy balls
- 4 Electric candles with remote
- 4 Paper ramekins
- Paint (to paint ramekins)
- Fabric glue
- Craft glue or other kind of glue
- Paint brushes
- Stencil burner
- Fishing line
- 7 Eye hooks
- 2 Willow branches
- String
- Hook to hang from ceiling
- Scissors
- Weights (See step #10)
Steps:
- Paint the ramekins (I used paint I had already used to paint different things in the room.)
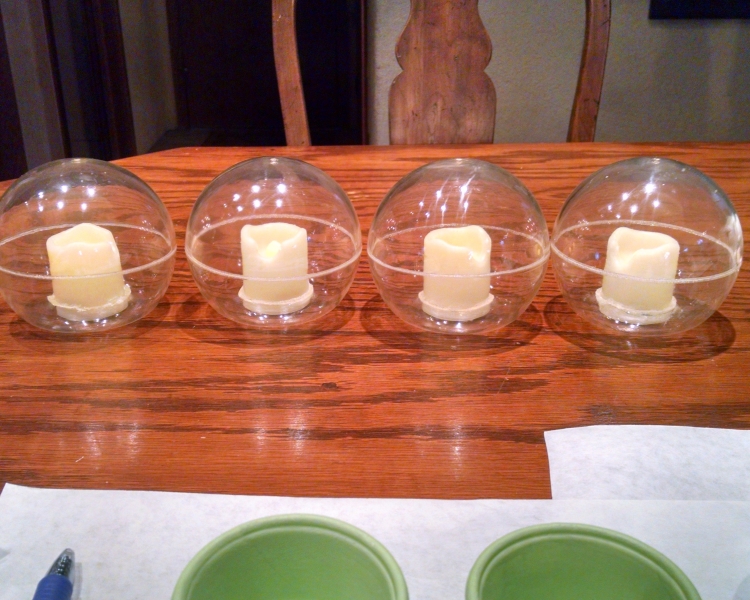
- Use the stencil burner to burn a hole in the bouncy balls about ¼” smaller than the diameter of the candle. Be sure not to cut the holes too big. (The balls I used had sprinkles inside, so I then emptied those.)
- Shove the candles inside the balls, leaving the bottom out. (This is where the on/off switch is and where the batteries are changed.) The cut edge will role in a bit with the candle.
- Melt a little hole with the stencil burner at the other end of the ball where a small eyehook will be screwed in later.
- Cut a tiny hole in the center of each handkerchief and iron the handkerchiefs.
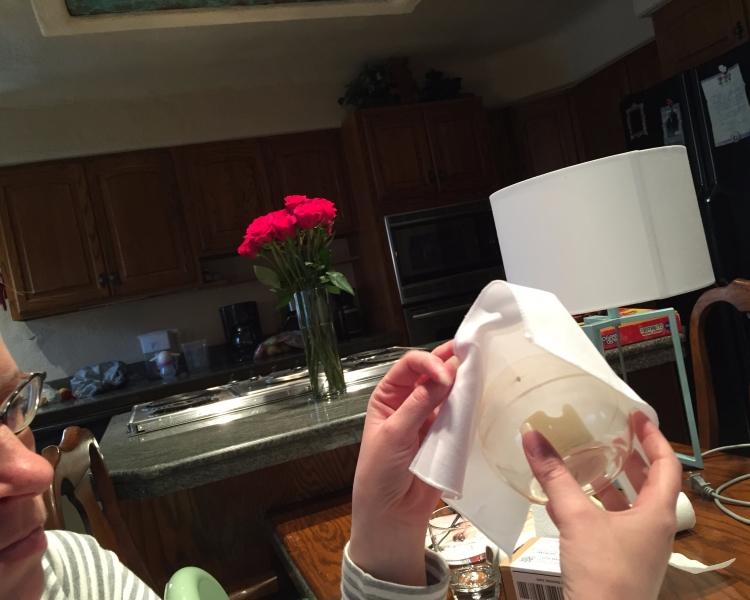
- Place the handkerchiefs over the balls matching the holes in the handkerchiefs to the holes in the top of the balls. Screw the eyehooks in to secure the handkerchiefs in the right place.
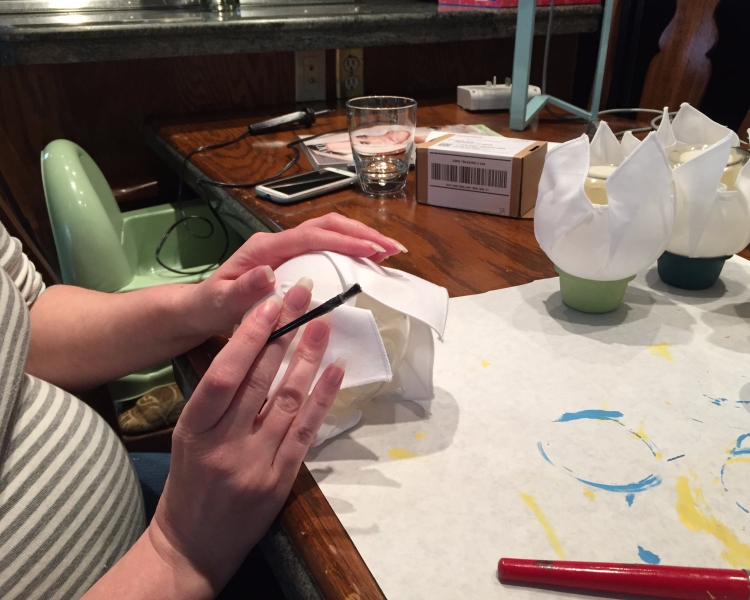
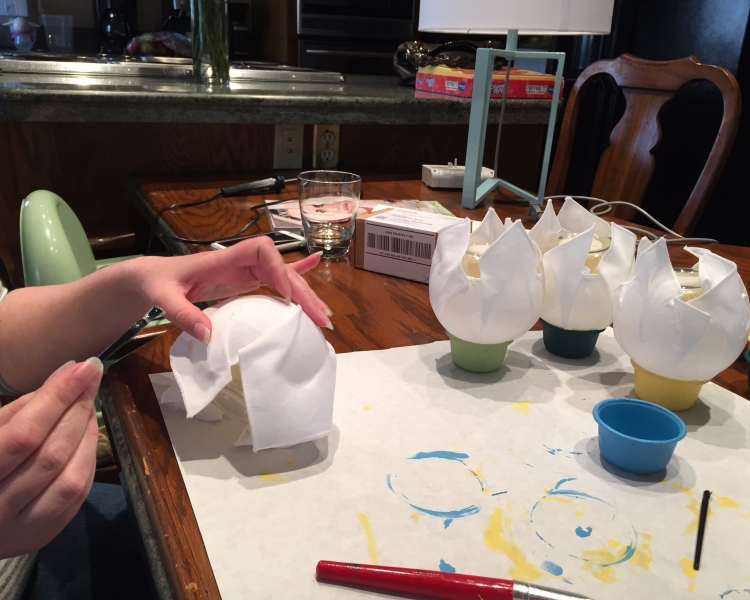
- Paint fabric glue onto the balls in sections and press the handkerchiefs down. This can be done haphazardly, or more methodically with a specific number of folds. Mine are kind of in between. I folded it, but in a random way.
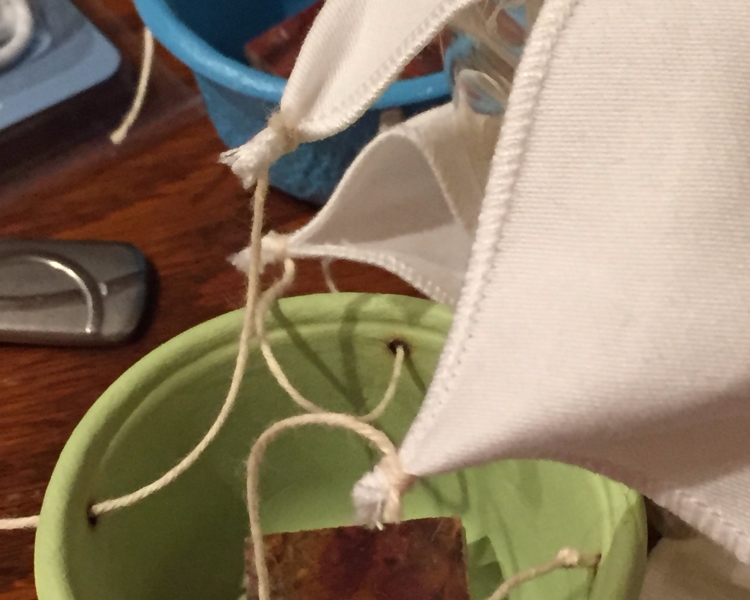
- Cut 4 pieces of string for each balloon and tie a string around each corner of each handkerchief.
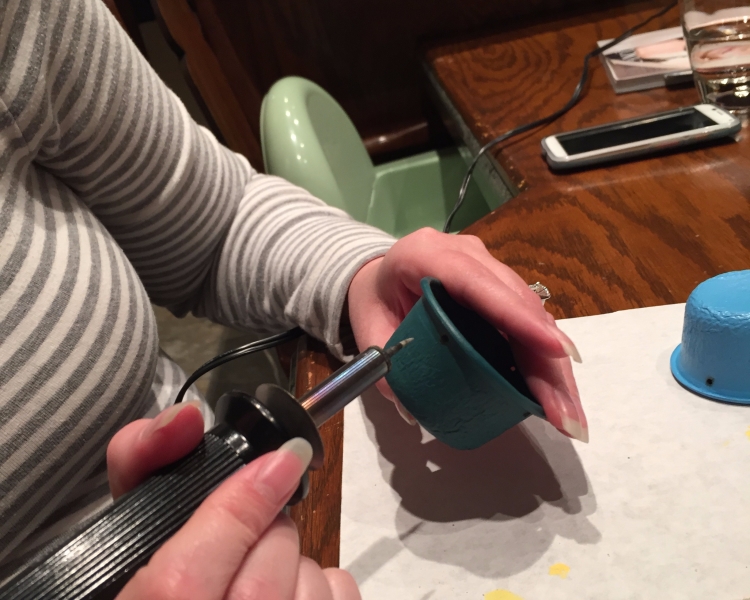
- Melt (or cut) 4 small holes around the edge of the ramekin for each balloon.
- Put a string through each hole and knot underneath trying the make the ramekin hang flat. (I found this to be the hardest part. I kept knotting the strings that needed to be a little shorter to raise those sides. I also glued a small tile square inside the basket to weight it down and make the strings straighter. You could use other things, like washers or something else. Try not to make the balloons too heavy though.) I left a little string hanging down to make it look like old fashioned balloons.
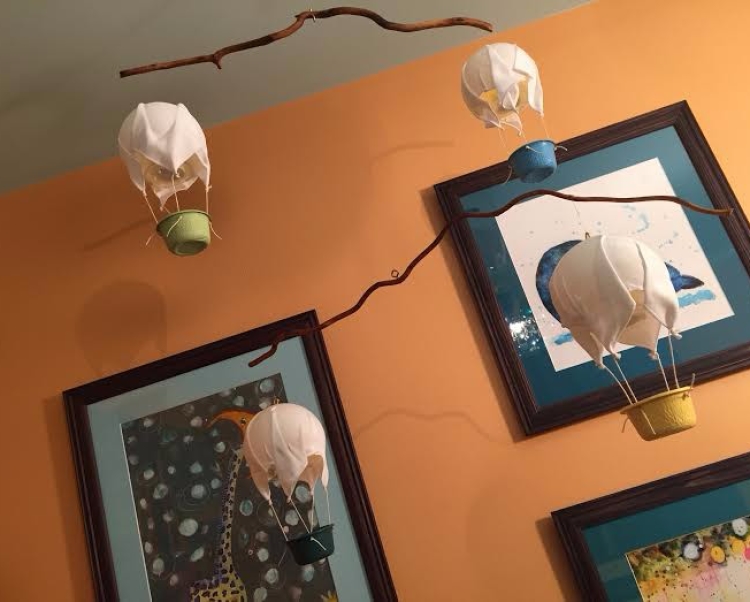
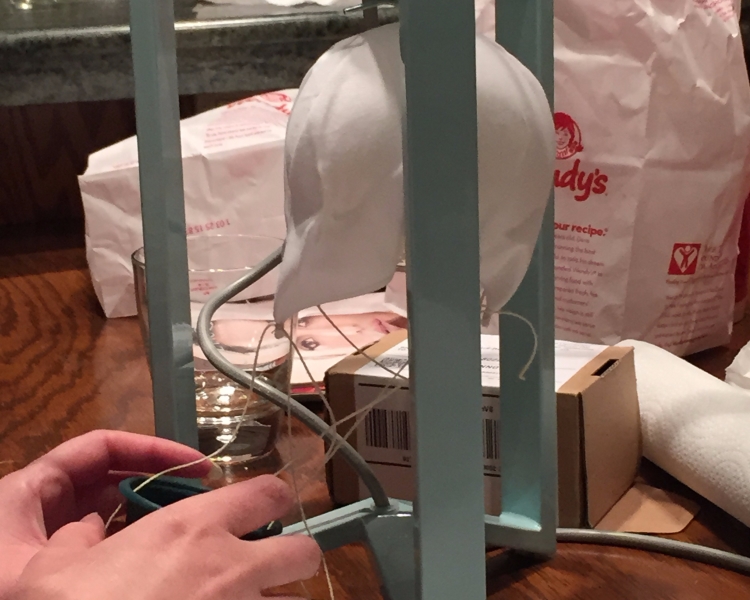
- Construct the mobile part by burning a small hole with the stencil burner in the center (or center of balance if they are quite irregular) of two branches. For the branch that will be on top, also burn a hole on the bottom of the branch, directly below the other one.
- Screw in eyehooks to all the holes. (I found that the mobile will hang better if the two eyehooks on the one branch are different directions so that the branches hang more perpendicular and less parallel.)
- Tie fishing line through the top hooks on the branches.
- Tie fishing line through the hooks on the balloon and make a small loop at the top that will fit easily over the branch. In determining the length of the fishing line, you want it fairly short as you don’t want the mobile to hang too low.
- Take two balloons and hang them on either side of a branch and move them in or out until they balance evenly. Mark the place on the branch. (Hold onto fishing wire to do this.)
- Use the stencil burner to burn a groove that the fishing line loop will sit in.
- Repeat these two steps with the other branch and other two balloons.
- Determine the length of the wire for the bottom branch and tie to the bottom of the top branch, again making sure that it will not hang too low.
- Put all the pieces together and hold up by the top string to check the balance.
- If the balance is just right, glue the balloon wires into their grooves.
- Once dry, hang from a hook in the ceiling. (I used multiple layers of fishing line for the top string to ensure that it would hold the weight of the whole mobile.)


Hopefully this gives you some direction if you are wanting to try this project. This mobile SO BEAUTIFUL when the lights are off and the balloons are floating around and twinkling. I am so glad it worked the way I wanted it to. It is probably one of my favorite projects ever!
Join our newsletter list or follow us on social media to see future nursery and kid’s room ideas.
Desiree