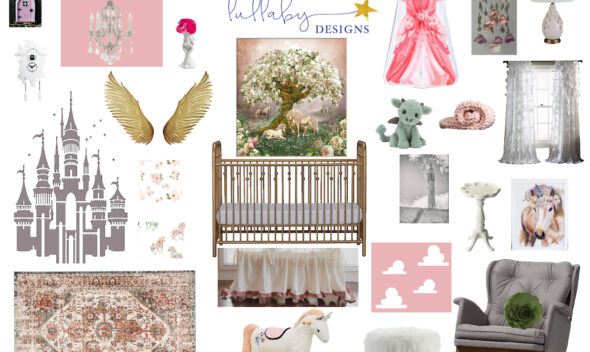


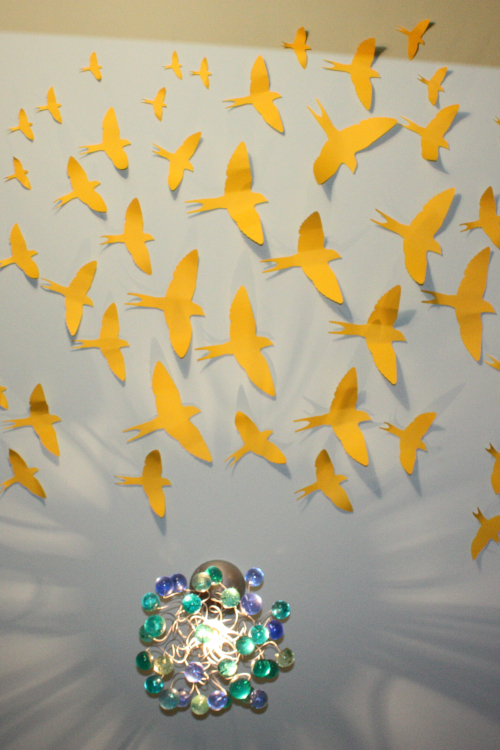
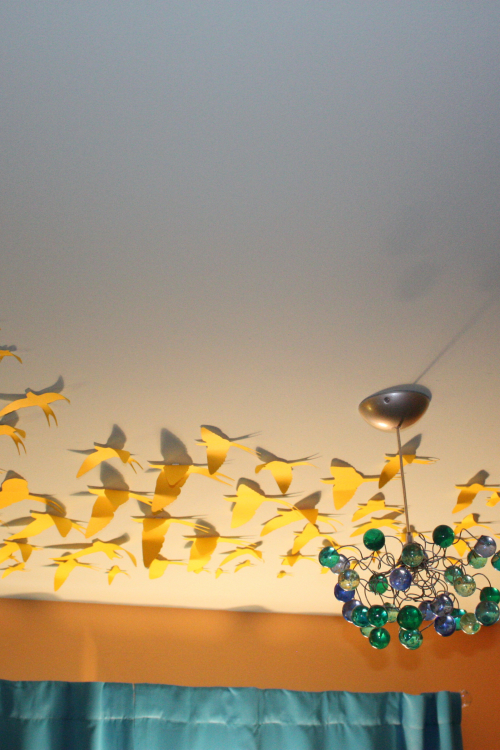
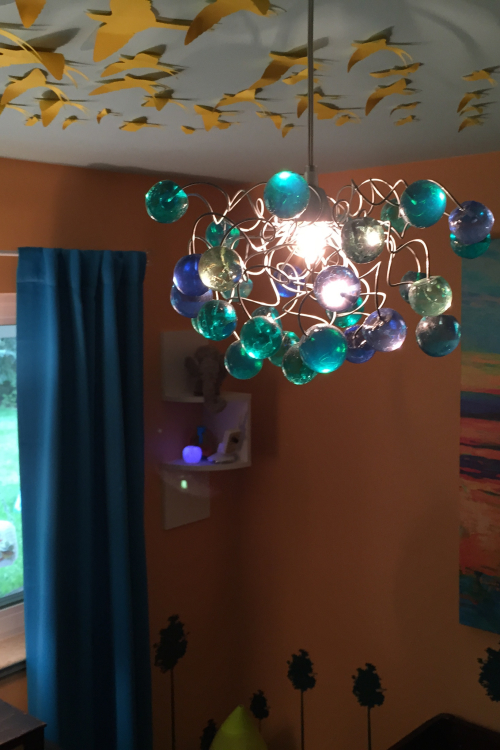
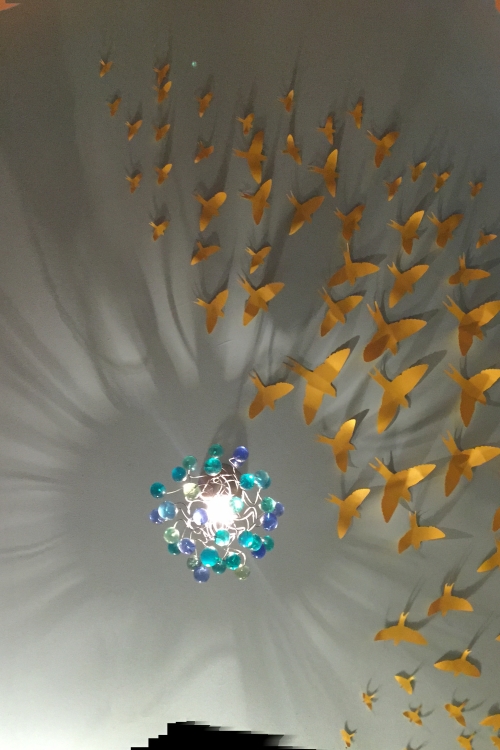
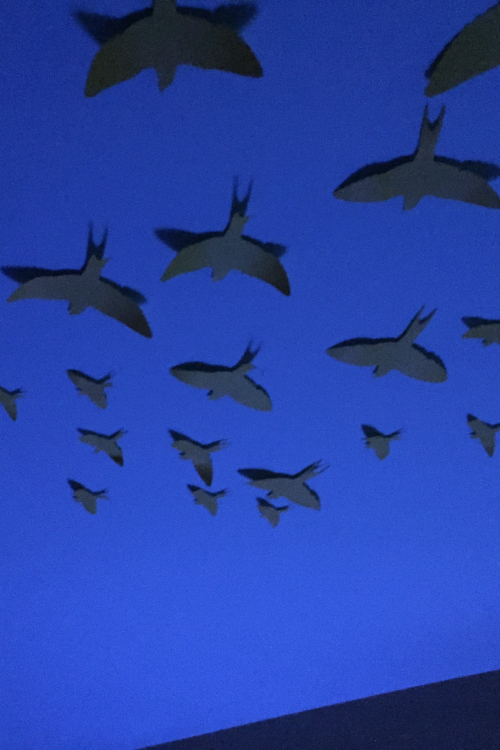
What child (or adult!) wouldn’t love to stare up at a flock of whimsical birds on the wall or ceiling?
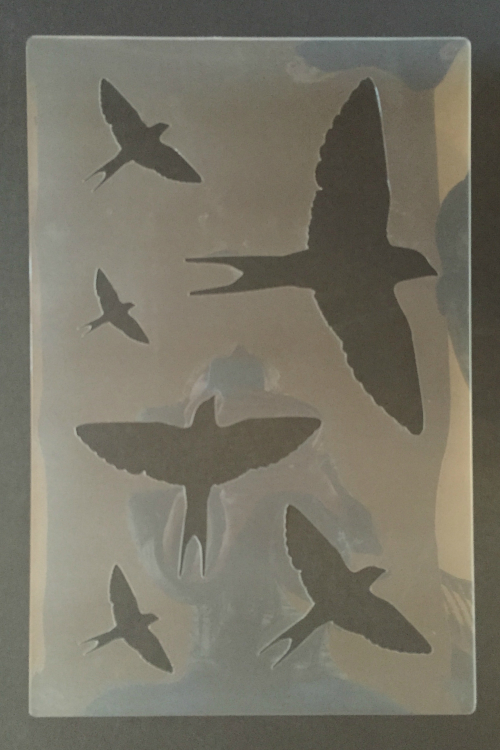
These unique bird stencils (now available on amazon here) were inspired by our Dreamland Odyssey boy’s nursery. The great thing about them is, you can use them to paint directly onto a wall or ceiling. Or, you can use them to make paper cut-outs to bend and flex like a real flock of birds.
They are also economical because you can create as many birds as you like with one stencil.
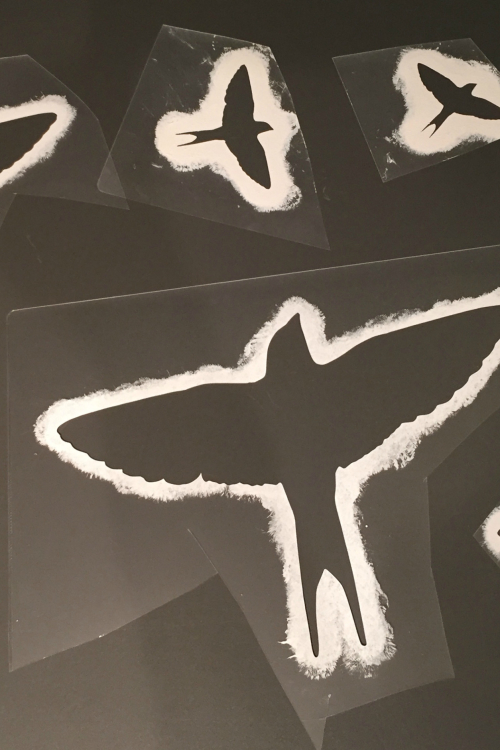
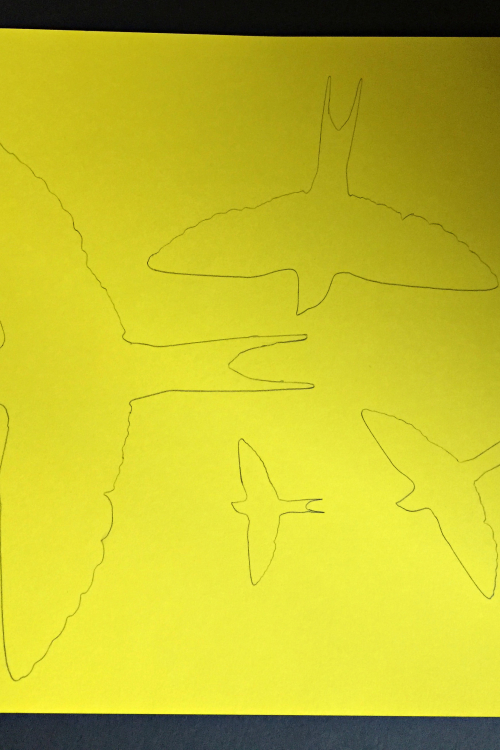
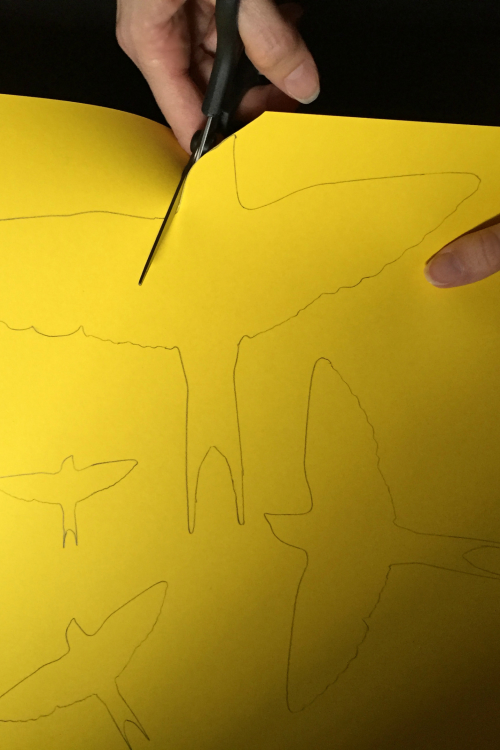
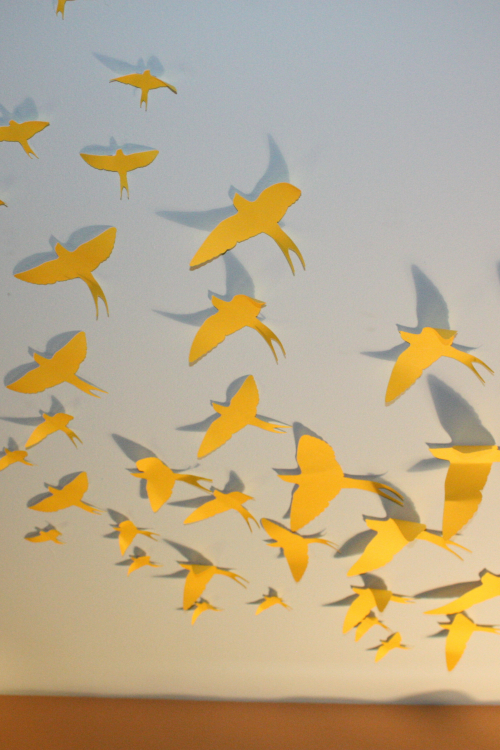
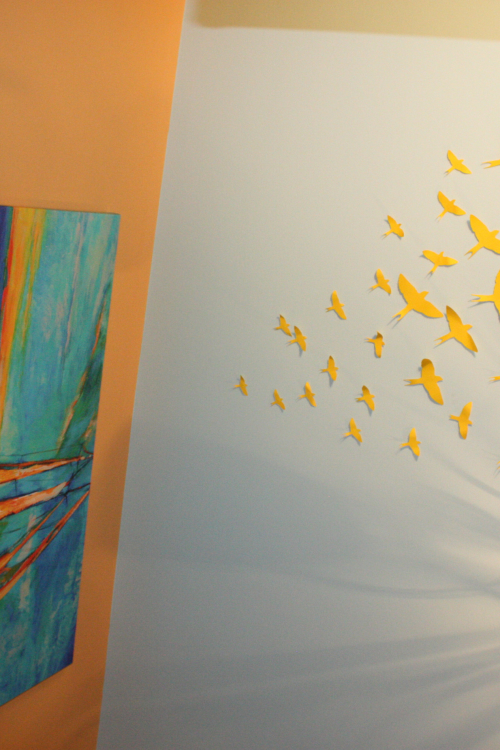
There are six different sizes of birds. We recommend cutting out around them with scissors leaving yourself a good margin around each bird. Then you can use your imagination to arrange them into a flock or a pattern as you wish. Feel free to use our photos as guidelines. Putting the larger ones at one end or the middle gives the illusion that the flock is closer at that point.
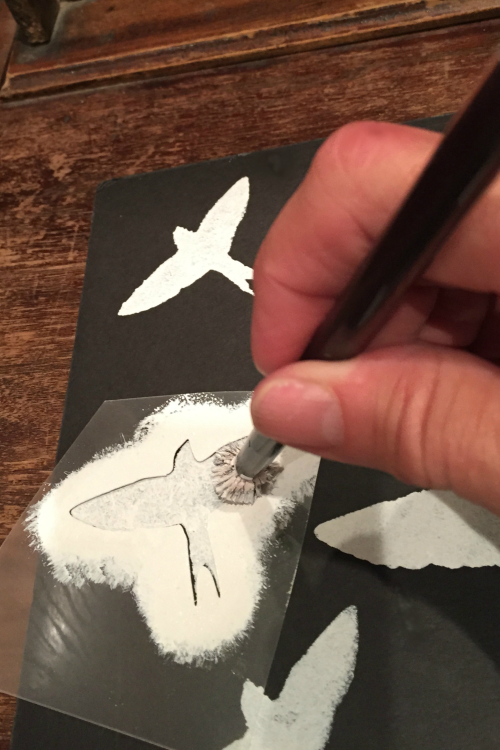
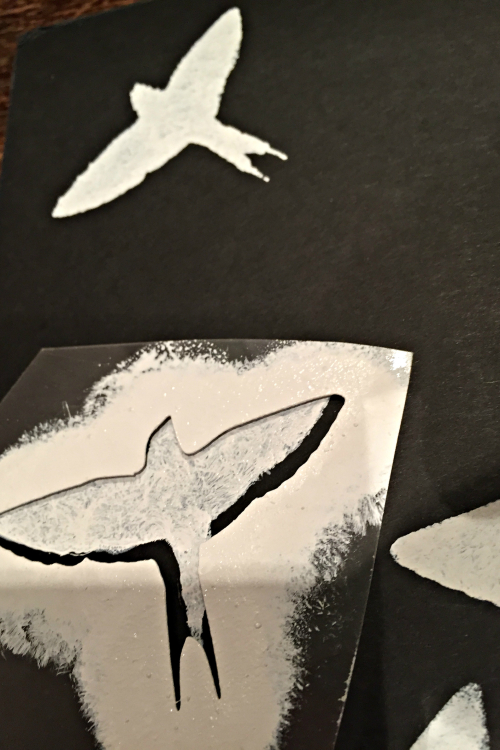
When painting the birds onto a wall, we recommend a small stipple brush. If you keep only a small amount of paint on the brush as you work, it will prevent the paint from seeping under the edges of the stencil significantly. You could use one consistent color or choose an array of coordinating colors. You may need to let one layer of birds dry before adding one next to it if the stencil will overlap onto the paint. You can use painters tape to attach the bird stencil to the wall or ceiling. You will have better results if you gently press down the edges around where you’re painting as you go.
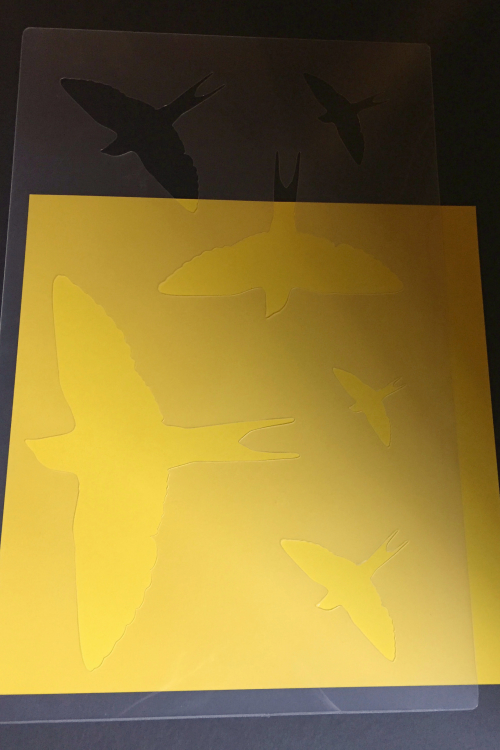
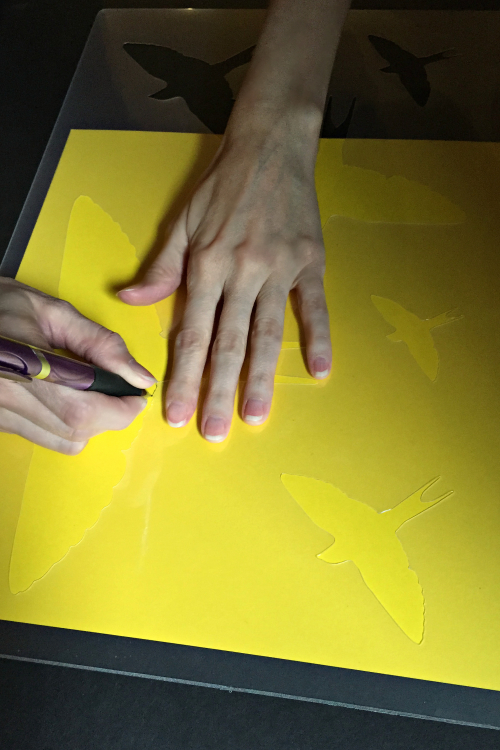
You can also use the stencils to do paper cut-out birds. For this, use a fine mechanical pencil or very thin marker. Hold the pencil as upright as you can and press the plastic down with your fingers as you go around the edges to keep the tip in place. These stencils are a little thinner than regular tracing stencils since they are used for paint as well, so pressing down the edges helps keep the tip where it belongs.
Try to use a card stock type paper for better durability and so the folds will stay. Again, you can use one color or pick a variety. You save paper if you try to fit as many birds as you can on one sheet.
Then carefully cut them out going around the small details. This can be a little time consuming depending on how many birds you are using, but the drama of the end result is quite worth the effort.
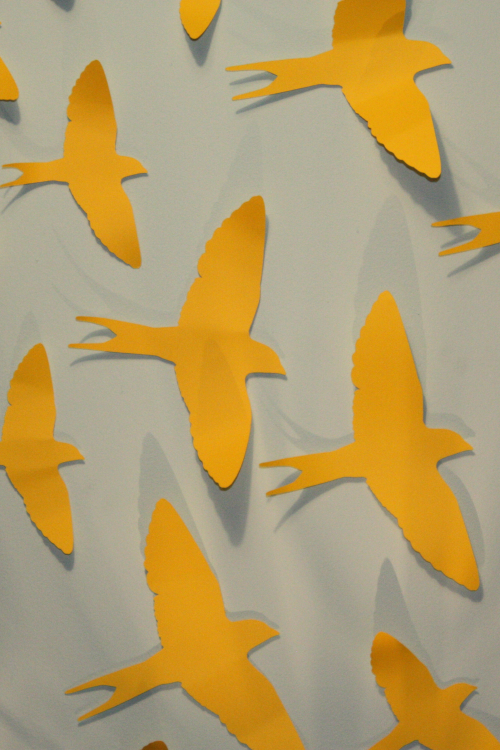
When you’ve got them all cut out, you can slightly bend the wings up or down in one or two places to give a 3D effect. You can use our pictures for guidance.
We recommend using removable clear mounting squares to attach the birds to the wall or ceiling. We also cut the mounting strips in half for the smaller birds.
When you are finished you will have added a whimsical feature to your room. These birds can be used in nurseries, kid’s rooms, grown-up living spaces, or classrooms.
Join our newsletter list or connect with us on social media to stay in the loop! Contact us any time with questions. And we always love to see pictures of completed projects!
The bird stencil is available here.