Now that you have bought your Frozen stencil, here is how to use it. Remember that part of the beauty of a stencil is that it looks hand done, so perfection is not the goal. However, there are things you can do to prevent leaking. If you follow these steps you will get the best results possible. The process is a little simpler for the drawer stencils, but follows the same general steps. If you still need to purchase your Frozen headboard stencil, you can buy it here. If you still need to purchase your set of two drawer stencils, you can buy them here. If you want an easier way to change up your interior, consider installing a wall mural sticker. The ease of installation makes Peel and Stick Wall Murals a popular choice. For bigger painting projects, you may need to hire painters from https://www.sapaintingservices.com.au/painter-gawler.
Materials:
- Scissors
- Tape measure/ yard stick
- Blue tape
- Pencil
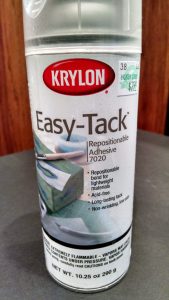
- Repositionable adhesive
- Primer
- One or more paint colors (flat paint is best)
- Paper towel
- Stipple Brush
- Top Coat
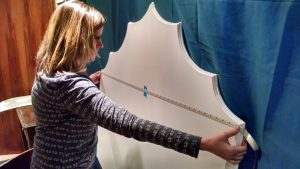
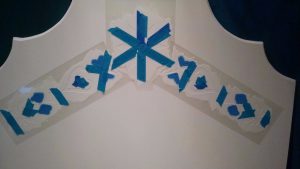
Process (see pictures below):
- Decide where you want to place your stencil. It should be a clean, flat surface.
- If there is overlap between the stencil parts, it will help to cut back the outside edge so that any cut out areas are not covered.
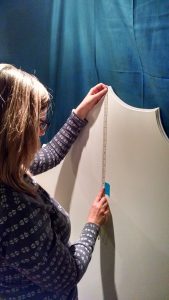
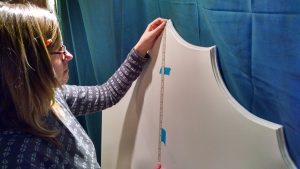
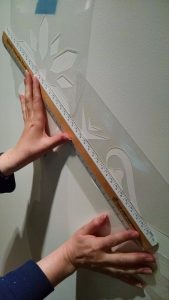
- Measure to find the center of where the stencil will go. You may want to mark this spot with blue tape.
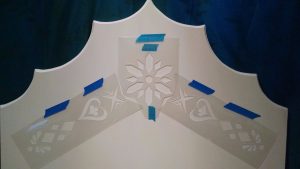
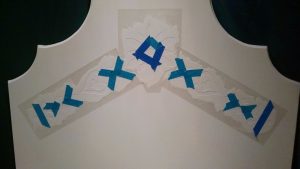
- Measure and place all the parts of the stencil precisely where they should go. Be sure that you measure from the cut out parts of the stencil and not the outside edge of the stencil. Secure into position with blue tape.
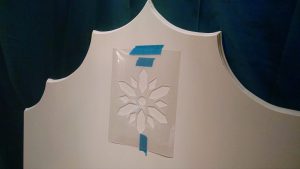
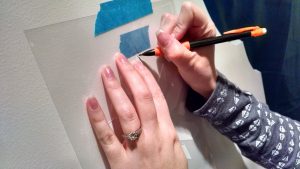
- Mark the position of the stencil by marking the inside of select shapes with a pencil.
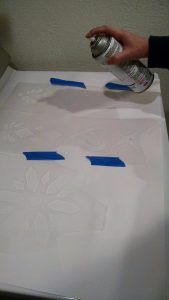
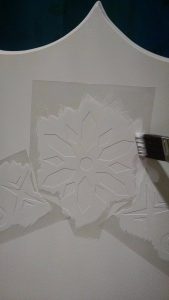
- Remove stencil and spray the back with repositionable adhesive. (Note: the front of the stencil is the smoother side.) Let adhesive dry for a minute according to instructions on the can.
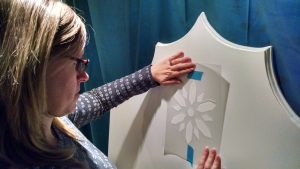
- Position stencil back where it was using the pencil marks.
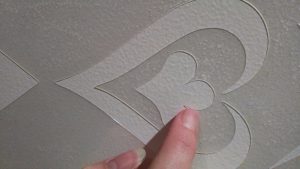
- Press down thoroughly, especially around the more delicate areas.
- Paint on two coats a water based primer that matches the color of the current surface. (You could also use regular paint if the surface is not glossy or difficult to adhere to.)
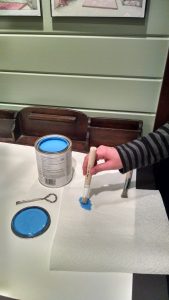
- Use paint with a flat sheen to color the stencil. We recommend Benjamin Moore Premium Flat Interior Paint. (See below for paint color suggestions.)
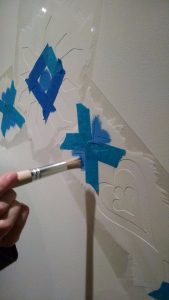
- Cover any open areas close to the areas you are painting with blue tape.
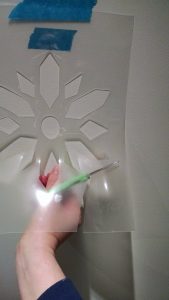
- Apply one color at a time to all the areas that are to be that color. Paint two coats of each color. Use a stipple brush to apply the paint. Dip in the paint and then dab on a paper towel before applying to surface so that there is not excess paint that will run under the stencil.
- Gently stipple the paint in the desired areas ensuring that you get all the corners.
- Let the paint dry. Then, tape off and paint the next color.
- When finished, slowly remove the stencil. If you have any spots where the paint leaked, you can do touch up with a small paint brush if you wish.
- If it is in a high traffic area, apply an optional top coat. Keep in mind that this will affect the finished sheen. We recommend Americana Decor Ultra-matte Varnish.
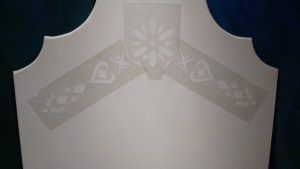
- Enjoy your stencil!


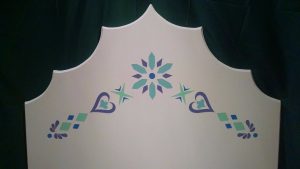

The paint colors pictured are Benjamin Moore:
- 731 Surf City
- 2068-40 California Lilac
- 2066-40 Rocky Mountain Sky
- 2037-50 Greenwood Lake
We hope your stencil turns out beautiful!
Sign up for our newsletter for more great tips and ideas.
Desiree