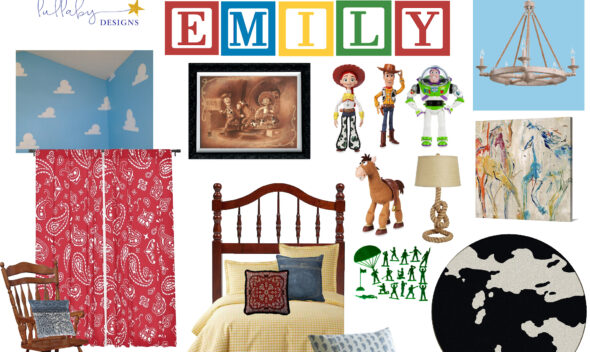
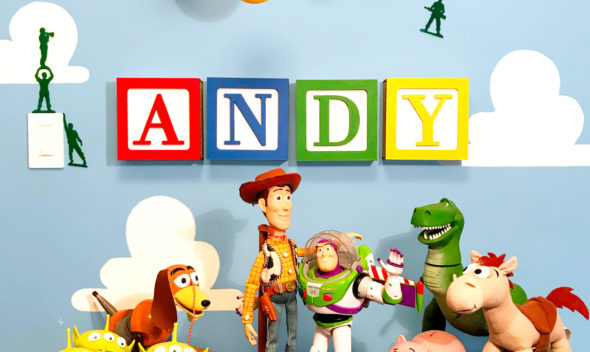
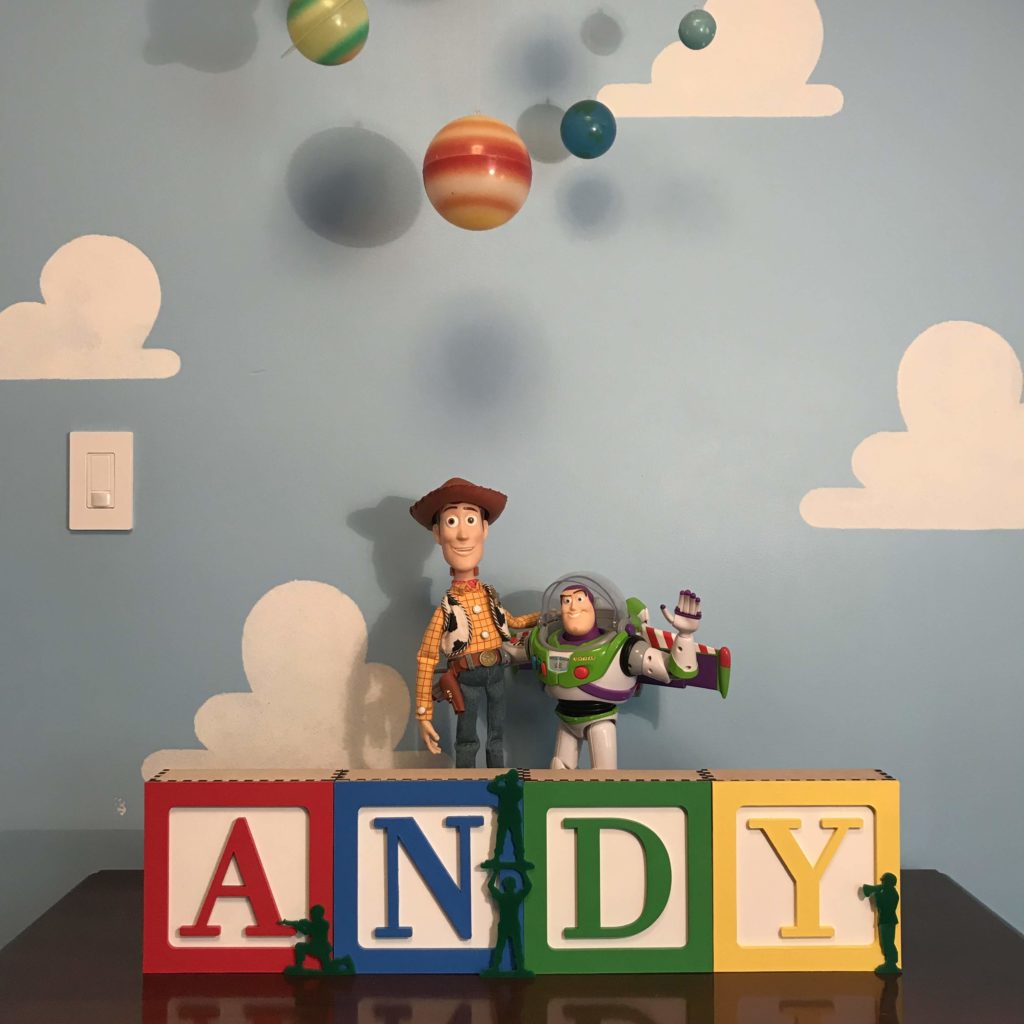
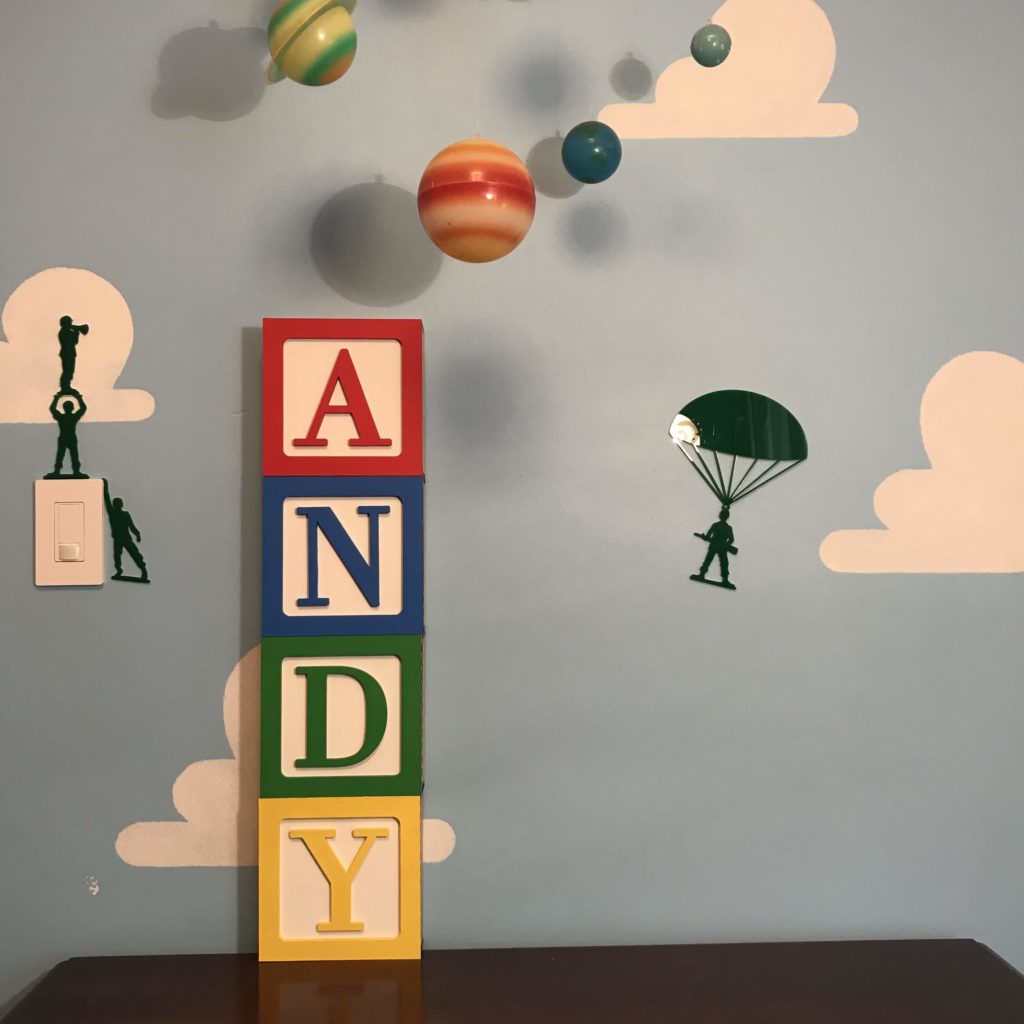
Here is everything you need to know to paint, build, and hang your letter blocks. If you still need to purchase your letter blocks, you can buy them on Amazon or Etsy. If you are creating a Toy Story room, you might also be interested in our Toy Story cloud stencils that help create that iconic Toy Story look. The set is available on our website, Amazon, or Etsy. We also sell acrylic army men that can be arranged in endless ways to create more fun character in a Toy Story room. That set is also available on our website, Amazon, and Etsy.
How to Paint
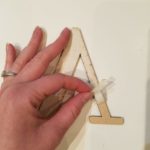
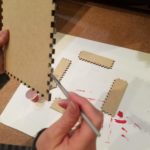
- Remove protective tape coating from both sides. (You can use duct tape to pull it off more quickly.)
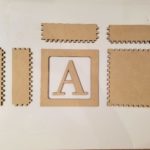
2. Practice putting the pieces together to assemble the box, then take apart.
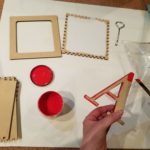
3. Paint the letter and frame the desired color. You will likely need to apply two coats to the surface and three coats to the dark edges for most colors. (We used Behr ultra flat paint samples in the following colors: red- Edgy Red UL110-7, blue- Artesian Water S-G-550, yellow- Bright Star S-G-360, green- Par Four Green 440B-7.)
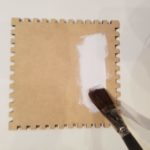
4. Paint the front of the block white. Any bright white flat paint will do. There is no need to paint all the way to the edge, because the frame will cover up that part.
How to Glue
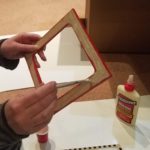
- Glue together the front and four sides by taking a small paint brush and spreading the glue provided into each notch. Try to avoid applying the glue to the high part between notches, as this part will show when the parts are assembled. Apply glue and place together one side at a time, making sure you are putting the side in the right place.

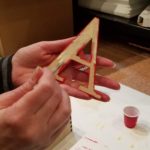
2. Apply glue and put on the frame, and then the letter to the front. (Remove any messy glue with a wet paper towel.) You can also use removable glue dots for the frame.
3. Wait a few minutes, then turn the box over. Apply glue to all the inside joints.
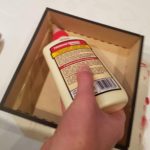
4. Let the glue dry.
How to Hang (if desired)
Tools provided: hanging blocks, drill bit (correct size for molly), screws and mollies to attach hanging blocks to the wall, velcro. (Note: We recommend screwing the top of the letter block onto the hanging block if the blocks are above a crib or anywhere they might get bumped. The screws for this are not included.)
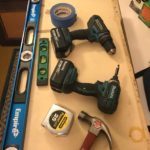
Tools you will need: Drill, hammer, screw driver, measuring tape, long and short level, blue tape, pencil.
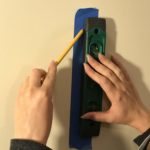
- Find the center of where you want the blocks to hang. Put a piece of blue tape vertically on the wall. Use a level vertically to mark the exact center line. (If you have an even number of letters, this will be between the two middle letters. If you have an odd number of letters, this will be the center of the middle letter.)
2. Decide the desired height of the blocks. (For safety reasons, hang out of reach of children.)
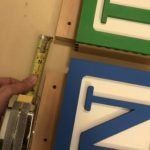
3. Determine the spacing between the hanging blocks. This must be consistent between every set of hanging blocks. You can leave a space between the letter blocks or have them touching. We used 2 ¼” between the hanging blocks. (If you are using an even number of letters, that would be 1 ⅛” from the center line.) It may be helpful to use a spacer item to cut down on measuring.
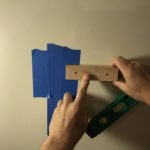
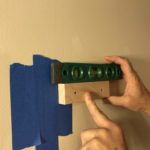
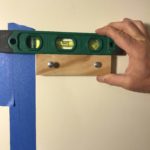
4. Place blue tape next to the center line and mark the correct spot for the edge of the hanging block. Use a level for the top and place the hanging block in the correct position.
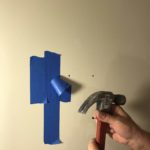
5. Using the drill bit provided, drill holes into the wall using the pre-drilled holes in the block as your guide. Remove hanging block.

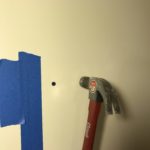
6. Remove blue tape.
7. Hammer in mollies.
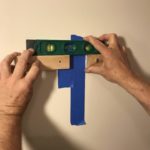
8. Replace block, and screw in screws a little. (Try to put the hanging block back the exact way you had it when you drilled the holes because they are imperfect. Flipping in any direction might cause things to be a little off.)
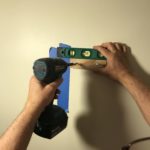
9. Check with level again before screwing the screws in all the way. If the height is off at all, unscrew the screw a little, adjust the block, and screw back in. Tighten screws with a regular screwdriver.
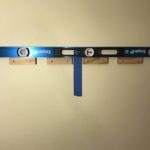
10. Place blue tape and measure spacing to the next block and repeat previous steps. Remember to use a long level to check the height of each block often. Move first to one side and then the other way from the center. If you hit a stud, use the screw without the molly.
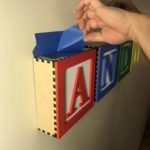
11. When all hanging blocks are secure, prepare to place the letter blocks on.
12. Place a piece of blue tape horizontally about a half inch above the hanging blocks. Mark the center with a pencil. (2 ¾” from the edge) Also place a piece of blue tape on the top of the letter blocks and mark the center of those. (3 ⅜” from the edge) (This step is optional, but it prevents extra adjusting later.)


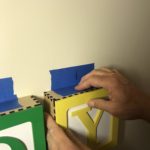
13. Put the hook and loop sides of dots together. Stick both to the top of the hanging block. Put one in the center and one on each end. (3 total on each block)
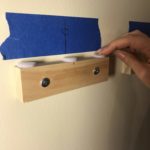
14. Place the letter blocks on top of the hanging blocks so that they are touching the wall. Match the center lines and check the spacing. Push down on each block for a while so that the sticky sides can adhere. The velcro allows you to adjust or remove the blocks when you need to.

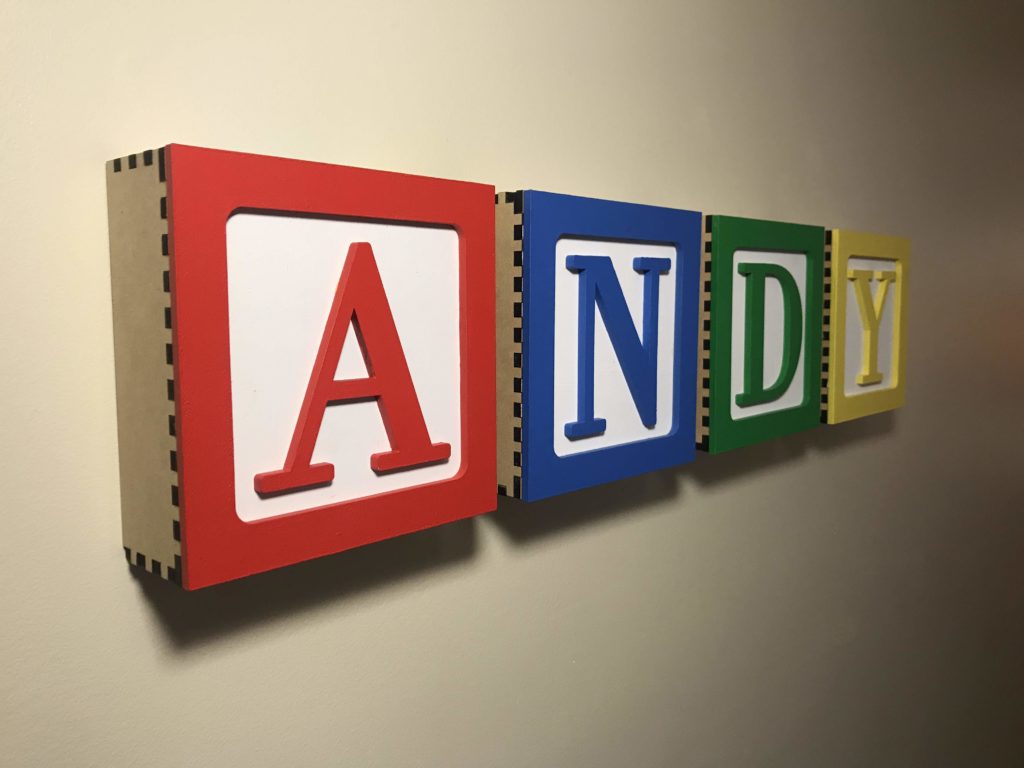
15. Remove the blue tape and you are done! Stand back and admire your work.

(Note: We highly recommend that if you are hanging the blocks anywhere where there might be safety a concern, that you use a screw in the top to secure the letter block down. To do this, pre drill the center of the top of the letter block and the hanging block. Then screw a screw down into the top. If you use only the velcro, you are responsible for any damage or injuries that might occur.) Contact the personal injury attorneys at McWhirter, Bellinger & Associates if you have any legal questions or concerns regarding liability for potential injuries or damages. Also, consulting a personal injury lawyer can offer valuable guidance and protection. You may contact personal injury attorney Michigan for professional services. And understanding the intricate details of cyber legislation can be daunting for anyone accused of a computer-related offense. It’s important to have a defender who is not only skilled in general criminal law but has a keen grasp of the digital realm. For this reason, securing a seasoned professional from a reputable legal firm specializing in a variety of computer related criminal cases is vital.
We hope that you enjoy your letter blocks! Here are the links again in case there is anything else you need. Letter blocks are on Amazon or Etsy. Clouds are available on our website, Amazon, or Etsy. The acrylic army men set is also available on our website, Amazon, and Etsy. We would love to see pictures of your creations! Please email us at Livinglullabydesigns@gmail.com.